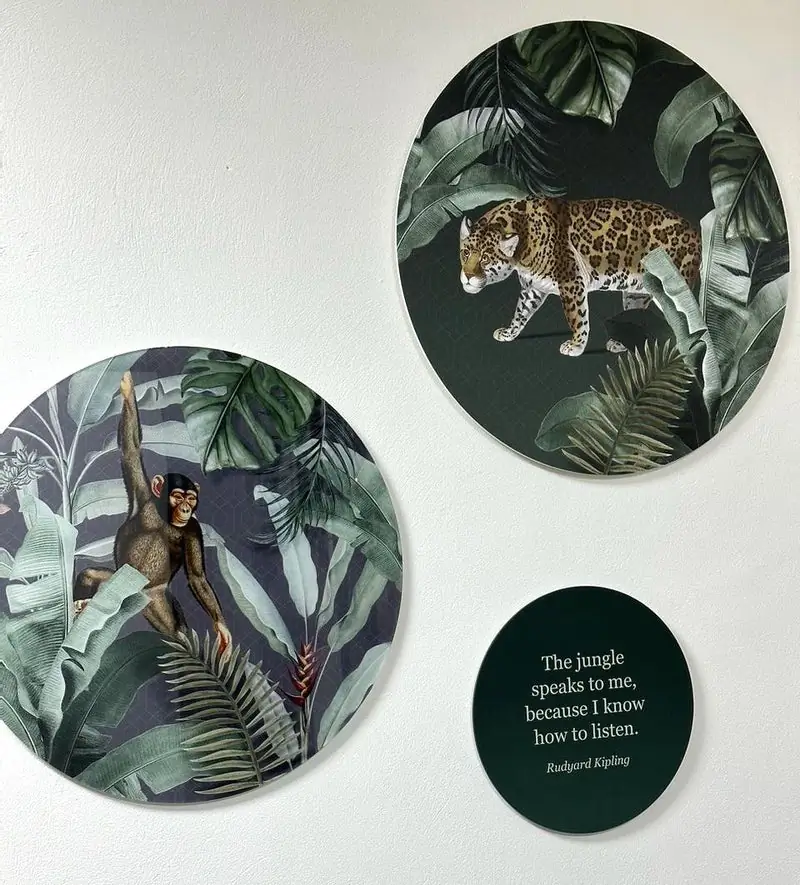
One wall circle is lovely, but combining wall circles lifts your interior to another level. Whether you go for a clean line above the sofa, a playful cluster in the hallway or a symmetrical triangle in the bedroom, the right mix of sizes, colours and motifs gives you a personal gallery wall that every visitor notices. In this article you will find out exactly how to combine wall circles into a coherent whole, which arrangements work best and how to hang them neatly.
Why combining wall circles works so well
Round wall decoration breaks up the straight lines of furniture, door frames and window frames. That is precisely where its strength lies: where a square frame melts into the architecture, a circle draws the eye. Hang several side by side and you create rhythm and movement on your wall.
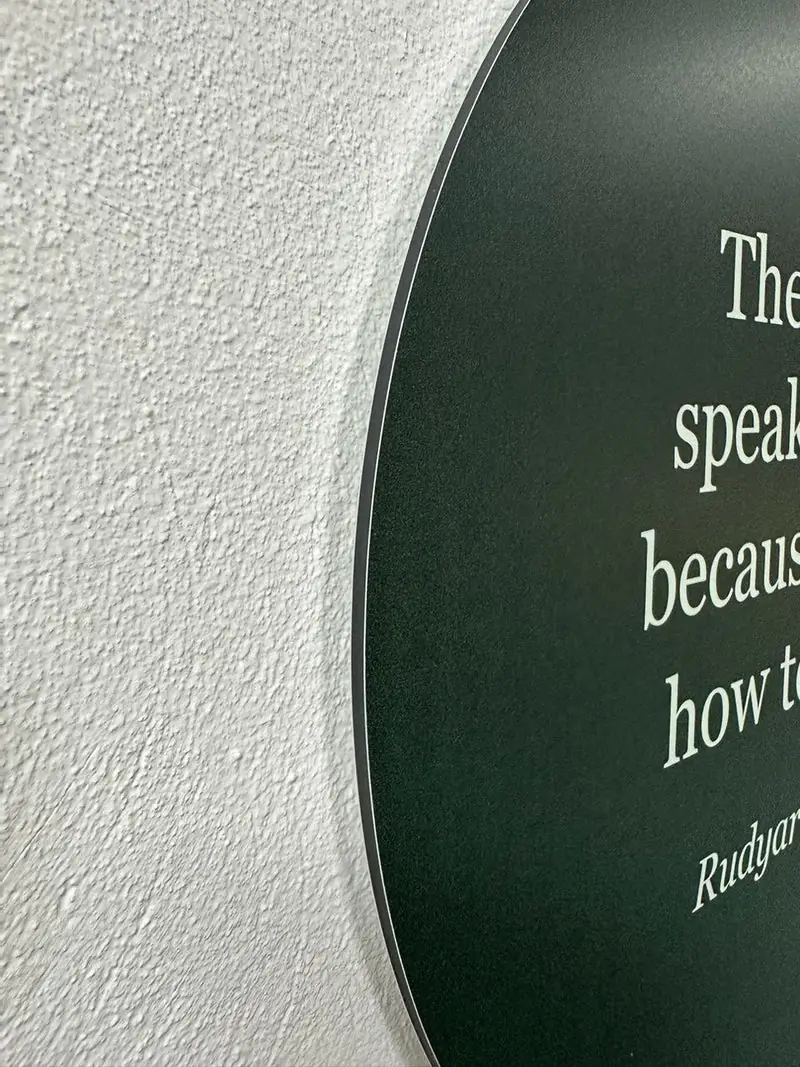
Combining wall circles has a number of advantages over single pieces of wall decoration:
- More visual impact: a group of circles fills a large wall better than one single piece.
- Flexibility: you can add, swap or move wall circles later without leaving holes in your composition.
- Personality: by choosing different prints you tell your own story, from botanical to abstract, from Dutch masters to modern photography.
- Affordable upgrading: start small and build your gallery wall step by step as the budget allows.
Have a look at our full wall circle collection for all available designs and sizes.
Choosing a colour palette: the basis of every combination
The success of combining wall circles begins with colour. A considered colour palette makes different prints sit well together, even when the subjects vary widely. Below are four proven approaches.
Tone on tone
Choose wall circles from the same colour family but in different shades. Think of three circles in soft green, olive green and deep emerald. This gives calm and depth at the same time. Tone on tone works particularly well in bedrooms and studies where you want a restful feel.
Complementary contrast
Combine colours that sit opposite each other on the colour wheel: blue with orange, green with pink, or purple with yellow. This produces an energetic, eye catching wall. Use this approach in the living room or hallway where you want to make a statement. Do make sure one colour dominates (around 60 per cent) and the other serves as an accent.
Neutral with one accent
Hang two or three neutral wall circles, black and white photography, a concrete look or soft earth tones, and add one circle in a bold colour. The accent draws the eye and the neutral circles provide balance. This is a safe but effective strategy if you are unsure about your colour choice.
A thematic palette
Let the subject decide the colours. A set of botanical wall circles automatically shares a green and brown palette. Beach scenes bring together blue, sand and white. Go for Rijksmuseum wall circle inspiration and the warm golds and deep backgrounds of the Dutch masters form a harmonious whole all by themselves.
Mixing sizes: how to create movement
Wall circles come in a range of diameters, from a compact 30 cm to an impressive 120 cm. Combining different sizes is essential for a lively gallery wall. A wall full of circles in exactly the same size soon reads as a pattern rather than a gallery.
A good rule of thumb for sizes:
- One large circle as the anchor (80-120 cm): this is the centre of your composition and the first thing the eye finds.
- Two medium circles (50-70 cm): these support the anchor and fill out the composition.
- One or two small circles (30-40 cm): these add detail and playfulness, perfect for filling empty corners.
This mix of large, medium and small works for almost any wall. If you have a very wide wall (over three metres), you can increase the number of medium and small circles. For a narrower wall or a corner, a combination of two sizes is sometimes enough.
Tip: bear the viewing distance in mind. In a long hallway or a large living room the anchor can comfortably be 100 cm or more. In a cloakroom or small bedroom, 60 cm as the largest size is often plenty.
Five arrangements that always work
Now that you know which colours and sizes you want, it is time to settle the layout. Below are five tried and tested ways to combine wall circles.
1. The triangle
Hang three wall circles in an imaginary triangle: two along the bottom and one on top, or the other way around. The triangle is one of the strongest visual shapes and gives instant structure. Choose the largest size for the top position and two smaller ones beneath, or swap them around for a more playful effect.
Ideal for: above the sofa, above the sideboard, in the bedroom above the bed.
2. The horizontal line
Place three to five wall circles along a single horizontal line, with their centres at the same height. Vary the sizes for movement, or keep them equal for a clean, modern effect. The horizontal line works excellently in narrow rooms because it emphasises the width of the wall.
Ideal for: above a long sideboard, in the hallway, above a dining table.
3. The organic cluster
This is the freest arrangement. Group four to eight wall circles in a loose, organic shape, as though they had drifted together naturally. Let the circles almost touch or overlap slightly in position (not physically). The cluster works best when you use at least three different sizes.
Ideal for: large empty walls, stairwells, open spaces.
4. The vertical line
Stack three or four wall circles one above the other. This draws the eye upwards and is perfect for narrow strips of wall, between two windows for example, or beside a door. Choose decreasing sizes from bottom to top for a natural sense of perspective.
Ideal for: narrow strips of wall, beside the front door, in the cloakroom.
5. The grid
Hang four or six circles in a strict grid with equal spacing. This gives an ordered, gallery like effect that suits modern and minimalist interiors. Use circles of the same size and keep a consistent gap of 4 to 8 centimetres.
Ideal for: home office, modern living room, dining room.
Combining wall circles room by room
Every room has its own proportions, light and atmosphere. Below are concrete suggestions per room.
Living room
The living room is the place for your biggest gallery wall. Choose the wall you see when you walk into the room, often the wall behind the sofa or facing the seating area. A cluster of five to seven wall circles in mixed sizes makes the greatest impression here. Match the colours to your sofa, cushions or rug.
Combining wall circles with other wall decoration? You can, but keep it subtle. A set of circles next to a low accent wall from the wallpaper collection gives a lovely contrast between flat and round.
Hallway and entrance
The hallway is your home’s calling card. Because the space is often narrow, a vertical line or a compact triangle works best. Choose striking prints that set the tone straight away: a botanical motif, an artwork or a colourful abstract print. Sizes of 40 to 70 cm are ideal here.
Bedroom
In the bedroom you want calm. Choose a tone on tone palette in soft, muted colours. A triangle or a horizontal line of three circles above the headboard is a classic. Avoid sharp contrasts, they keep you awake rather than helping you relax.
Kitchen and dining room
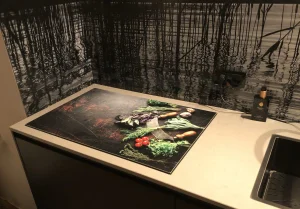
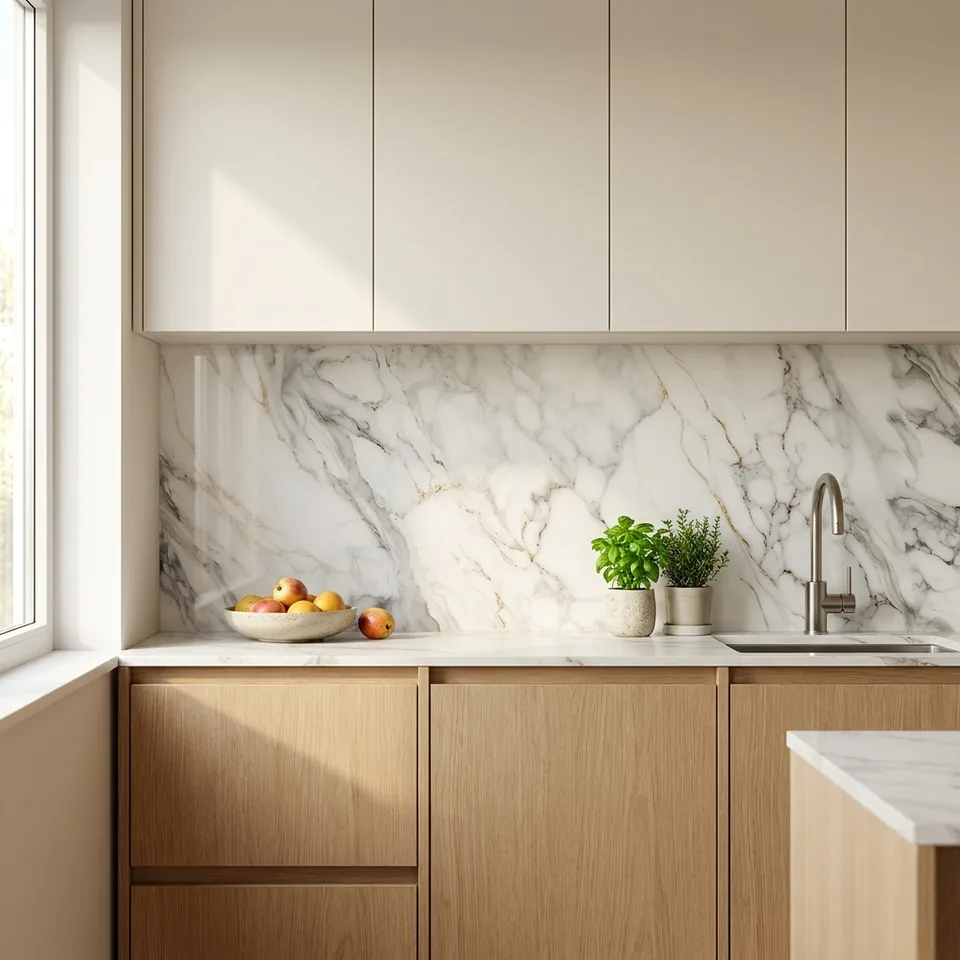
In the kitchen, wall circles compete with other wall elements such as a kitchen backsplash. So hang your circles in the dining corner or on a free wall beside the units. Themes such as food, herbs or Mediterranean landscapes work well here. Choose a material that copes with moisture if the circles hang close to the worktop.
Children’s room
A children’s room can be playful and colourful. Combine wall circles with animal motifs, space themes or fairy tale illustrations. An organic cluster at your child’s eye level, lower than you would normally hang, makes the room personal and inviting.
Practical hanging tips
Working out a fine composition is one thing, but how do you hang wall circles neatly and straight? These steps will keep your circles level and save you unnecessary holes in the wall.
Step 1: make a paper mock-up
Cut circles out of newspaper or wrapping paper at the right size. Tape them to the wall with masking tape and look at the result from different angles. Adjust the positions until you are happy. This saves you a good deal of drilling and filling.
Step 2: settle on the right height
Hang the centre of your composition at eye level, roughly 150 to 160 centimetres off the floor. If you are hanging the circles above a piece of furniture (sofa, sideboard, bed), leave 15 to 25 centimetres between the top of the furniture and the bottom of the lowest circle.
Step 3: keep the spacing equal
The gap between the circles decides whether your composition reads as coherent or scattered. For most arrangements, 4 to 8 centimetres between the edges of the circles is ideal. Use a ruler or a spacer (a piece of card cut to size, for instance) to stay consistent.
Step 4: use the right fixings
Most wall circles are light enough for an adhesive strip or a screw and wall plug. Check the weight and the instructions supplied with your product. On plaster or concrete you need a solid plug, on plasterboard a special plasterboard plug or a self adhesive hanging strip is usually enough.
Tip: spirit level apps on your phone work fine, but a physical spirit level is more accurate. Lay it on top of each circle to check that it hangs horizontally.
Find inspiration with a free simulation
Not sure whether your chosen combination will look right on your wall? Make use of our free simulation. Send in a photograph of your wall and we will place the wall circles of your choice into the room digitally. That way you see exactly how the sizes, colours and composition work out before you order.
The simulation is entirely free and without obligation. You receive the result by email within a few working days. Many customers use the simulation to choose between two compositions, or to settle on the right size for their wall.
Would you rather see the materials and print quality for real first? Then order a sample from our wall circle collection. That lets you judge the finish and the colours in your own interior, in daylight and in artificial light.
Frequently asked questions about combining wall circles
How many wall circles do I need for a gallery wall?
That depends on the size of your wall and the sizes you choose. As a rule of thumb: for a wall two to three metres wide, work towards three to five circles in different sizes. For a larger wall you can go up to seven or more. It is better to start with a few and expand later than to fill the wall in one go.
Can I combine wall circles with other wall decoration?
Certainly. Wall circles work well alongside framed prints, wall shelves or even an accent wall in wallpaper. Make sure the styles suit each other and that the round shapes have enough room to come into their own. Do not mix too many different shapes and sizes in one composition, it quickly becomes restless.
Which wall colour suits wall circles best?
A light, neutral wall colour (white, light grey, soft beige) is the ideal canvas. The prints and colours of the circles then show at their best. On a dark wall, wall circles with light or bold prints work as points of light instead. Avoid busy wall colours or patterns directly behind your gallery wall, because then the background and the circles compete for attention.
How do I look after wall circles?
Wall circles are easy to look after. Dust them regularly with a dry, soft cloth or a feather duster. Do not use a wet cloth on paper prints. Circles with a laminated or aluminium finish can be wiped carefully with a slightly damp cloth. Do not hang wall circles in direct sunlight, to prevent colours fading over time.
Can I have a wall circle made with my own photo?
Yes. Alongside the existing designs you can order a wall circle with your own photo, in the same sizes and materials as the rest of the collection. For a gallery wall that is genuinely useful: you mix one of your own photos with one or two designs from the collection and the whole thing still hangs together. Do keep an eye on the resolution of your photo, because an 80 cm circle needs far more image than a 30 cm one.
In closing: your personal gallery wall starts here
Combining wall circles is a creative process in which colour, size and composition go hand in hand. Start with a palette that suits your interior, choose at least two different sizes and experiment with one of the five arrangements in this article. Always make a paper mock-up before you start drilling, and if you are unsure about the end result, request a free simulation.
Ready to begin? Have a look at the full wall circle collection and put together your ideal combination. Any questions about sizes, materials or hanging advice? Get in touch, we are happy to help you on your way to the perfect gallery wall.
Wall circle or round wall art: is there a difference?
No. Wall circle and round wall art are two names for the same thing: a round panel you hang on the wall. Which term you come across depends mostly on the shop. We say wall circle, but if you search for round wall art or circle wall art you end up at exactly the same collection.
There is a difference in material, and that one you do notice. An aluminium wall circle is sturdy and colourfast, forex is lighter and cheaper, and plexiglass gives depth because it catches the light. For a gallery wall with several circles it pays to stay within one material: different materials next to each other catch the light differently, and that makes the wall restless.
Further reading
- View all wall circles. The full collection of round wall panels, in three materials and several sizes.
- Wall circle with your own photograph. Your own photo or design on a round wall circle, made to measure.
- Backsplash collection. If you are after something for the kitchen rather than the living room.