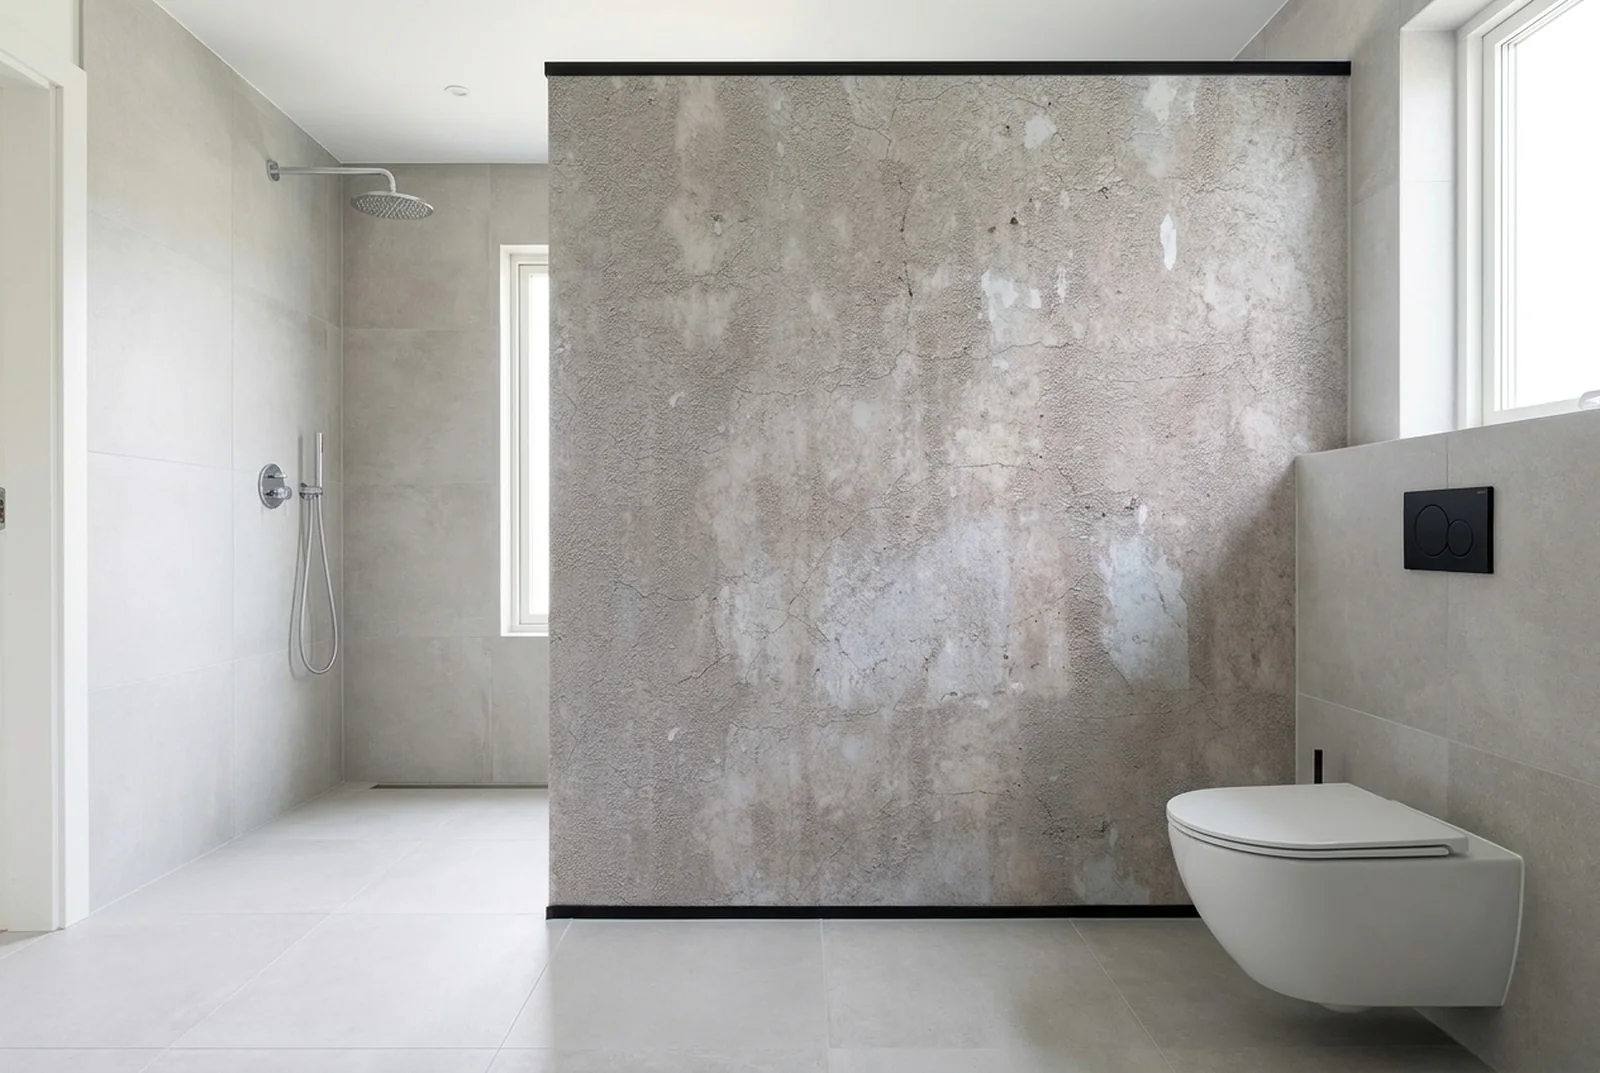
A low wall between the shower and the toilet. A screen beside the pan so you do not look straight into the whole bathroom. A divider that separates the basin corner from the wet zone. These are small interventions that immediately make a bathroom calmer, and normally something like that means bricklaying, plastering, tiling and days of mess.
It can be a great deal simpler: two profiles and a panel in between. No masonry, no grout, and, perhaps most important of all if you have underfloor heating, without drilling into the floor.
How it works
The principle is simple. You fit one profile to the floor and one to the wall, and the panel slides into it or sits against it. A third profile against the ceiling or along the top edge is an option if you want the wall higher or sturdier.
The profiles are fixed in place and the panel is sealed into or against the profile with sanitary silicone. That silicone does two things at once: it holds the panel in position and it makes the seam watertight. In a bathroom the second is at least as important as the first, because a partition often stands exactly on the border between wet and dry.
No drilling, so it works with underfloor heating too
For many people this is the reason to do it this way. With underfloor heating you do not want to drill into the floor, and usually you do not know exactly where the pipes run. One wrong hole and you have a leak under your tiles.
With this build up that is not necessary. The floor profile can be set on the tiled floor with silicone or construction adhesive instead of being screwed down. The rigidity comes mainly from the wall fixing: that profile sits in the wall, and there are no heating pipes there. The floor holds the bottom in place, the wall carries the load.
If you want extra certainty with a taller or wider wall, a profile against the ceiling or a side wall is the logical addition. The more firmly you anchor it, the more you can do with it.
Which profiles
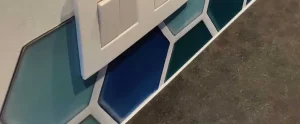
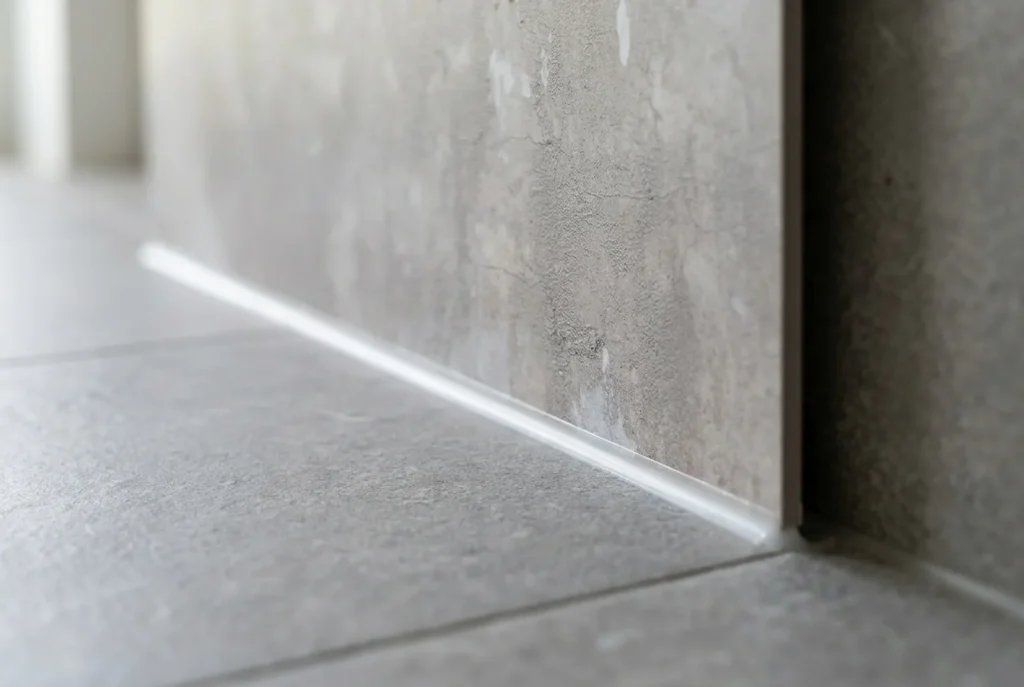
Usually a U profile: the panel drops into the channel and is held on both sides. Corner or L profiles work too, in which case the panel sits against the profile rather than in it.
Aluminium profiles are available in all sorts of finishes these days: brushed, black, white, bronze, gold, anthracite. That is more than a detail, because the profile is the edge you see. You can let it disappear against your floor or your wall tiles, or let it join in with the taps and the shower set. And of course with the print on the panel itself.
When choosing, watch the channel width: it has to match the thickness of the panel. DW Original is 3 mm and toughened glass 6 mm. A profile that is slightly wider works fine, the silicone fills the rest.
Which panel, and why DW Original is best here
With an ordinary backsplash one side sits against the wall. With a partition it does not: you see it from both sides. And that is where the difference lies.
Solid aluminium drops out here. At 1.5 mm that sheet is too thin to stand free, and gluing two sheets together brings you to the same 3 mm as DW Original, only more expensive and more awkward. That leaves DW Original, toughened glass and acrylic.
DW Original can be printed on both sides. That means you can have a different image on the shower side than on the toilet side. Or the same design running through, so the wall makes sense from every angle. For a partition that is exactly what you want, and it is why DW Original is our first choice here.
| Panel | Thickness | Double sided printing | Suitable for a partition |
|---|---|---|---|
| DW Original aluminium composite | 3 mm | Yes | The best choice. Completely waterproof, sturdy enough to stand free, and a separate image on each side. Maximum 300 x 146 cm, portrait or landscape. |
| DW Glass toughened glass | 6 mm | No | Possible, and it looks luxurious. Heavier though, so set higher demands on the fixing. |
| Acrylic on request | on request | Yes, and translucent | For when the wall has to let light through. Not in the webshop yet, but we can arrange it on request. |
Acrylic, when the wall has to let light through
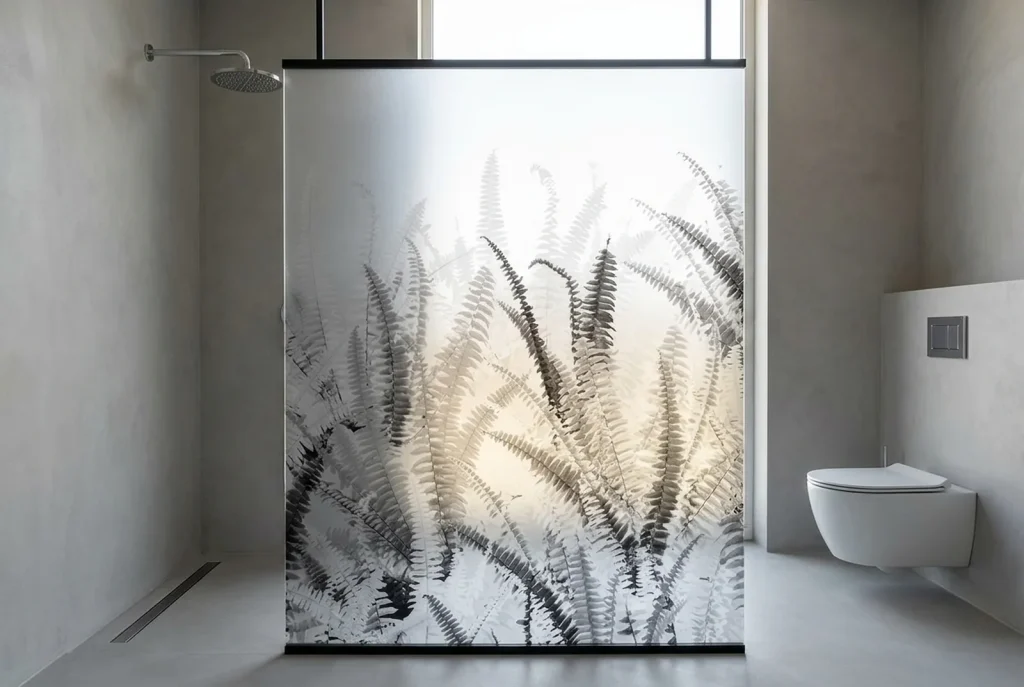
There is one more option that is especially interesting for a partition: acrylic with a print on it. What makes it special is that it can be printed and still lets light through. So you get a wall with a design that does not close the room off.
In a bathroom that is often exactly the problem with a partition. Put a solid panel there and the corner behind it goes dark, certainly if the daylight only comes from one side. With acrylic you keep the separation but not the gloom: you can no longer see details through it, but the light does come through.
That makes it suitable for a screen between shower and toilet in a bathroom without a window, or for a wall that has to pass daylight from one part to another.
Please note: acrylic is not yet available as an option in the webshop. We can arrange it for you all the same, print included. Get in touch with your dimensions and what you have in mind, and we will look at what is possible together.
What you can use it for
- A separation between the shower and the toilet, the most requested application
- A screen beside the pan, so the toilet is not the first thing you see
- A divider between the wet zone and the basin or the vanity unit
- A low wall behind a freestanding bath
- A draught screen or privacy screen in a room where a full wall would be too much
Because the panel is made to measure, you decide how high and how wide. Half height if you want to keep the light, up to the ceiling if you really want to separate.
What to watch out for
Anchoring. A partition stands free, unlike a backsplash against a wall. Fix it as firmly as the situation allows: floor plus wall is the minimum, and with larger dimensions a third fixing is sensible.
The order of sealing. Work from the bottom upwards and let the silicone cure before you load it. Use sanitary silicone, not ordinary acrylic sealant, because that is not water resistant.
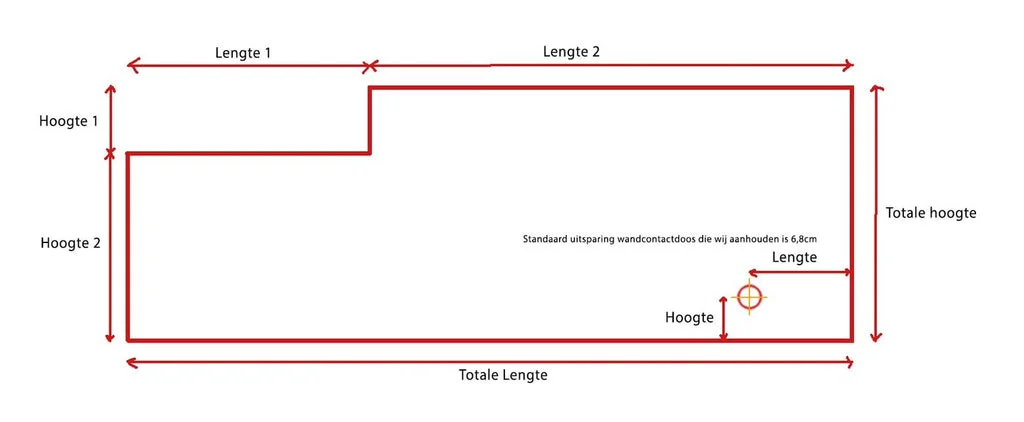
Measurements. Measure the space including the profiles, not just the gap. The channel of the profile takes up a few millimetres on each side. Our explanation of measuring a wall helps with that.
Floors are not level. Bathroom floors often slope towards the drain. So measure at several points, and allow for the panel possibly not finishing at the same height everywhere.
Getting started
Not sure whether your situation lends itself to this, or which size and material suit? Get in touch with your dimensions and a photo of the room, and we will think along with you. In the meantime, browse all designs, or read more about a bathroom wall panel if you want to tackle the walls themselves first.