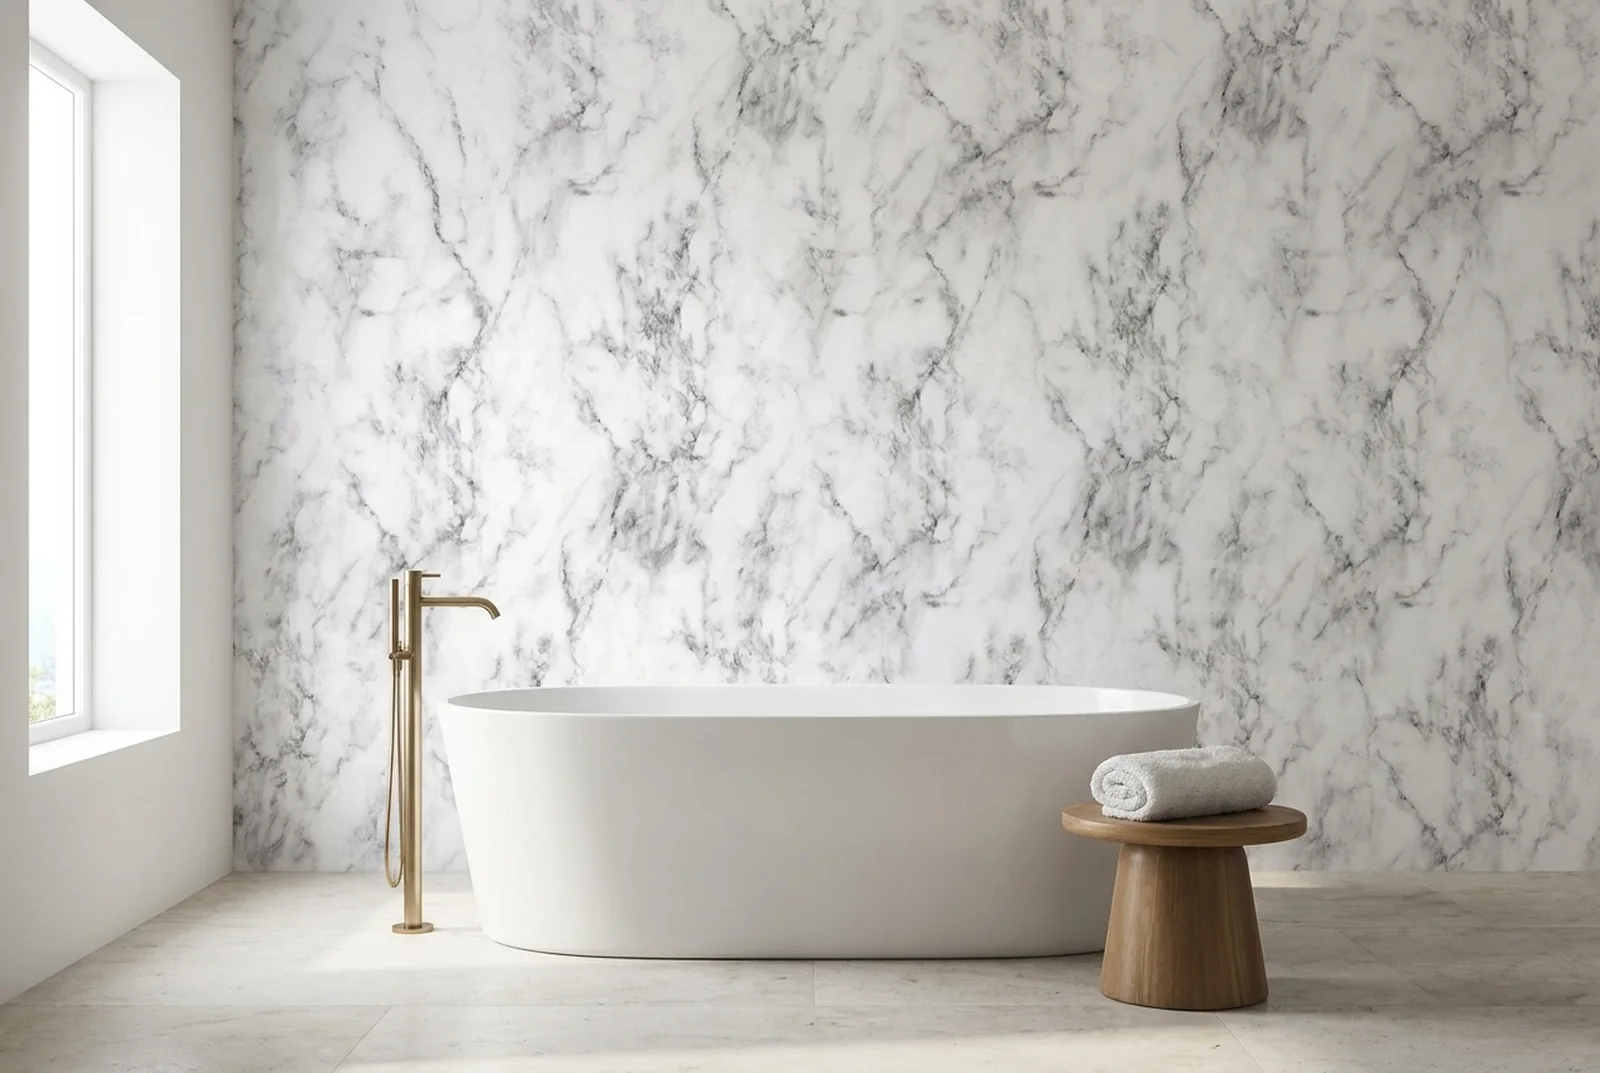
Tiling a bathroom is one of the most expensive and disruptive jobs in a house. And once it is finished, the real work begins: grout that discolours, silicone edges that turn black, and a film of mould that keeps coming back in exactly the same spot. A wall panel in the bathroom solves that a different way. One seamless sheet, made to measure, without a single grout line.
It is exactly the same product as our kitchen backsplash. Only the application differs, and in some places in the bathroom the argument is even stronger than above the worktop.
No grout means no cleaning
Dirt, limescale and mould do not cling to a smooth panel. They cling to the grout beside it. That is why a tiled bathroom wall looks dull after a few years while the tiles themselves are still perfectly fine: it is the hundreds of metres of grout between them that determine the picture.
With a panel you simply do not have that grout. The sheet measures up to 300 x 146 cm and can be used portrait or landscape, so in many bathrooms one panel covers a whole wall, and otherwise two do. Cleaning means a damp cloth, nothing more. No mould remover, no toothbrush along the edges, no grout that has to be replaced every few years.
Only at the joins, where the panel meets the floor or the bath, does a silicone bead appear. That is one straight line instead of a grid.
And you can keep the tile look
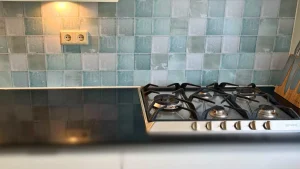
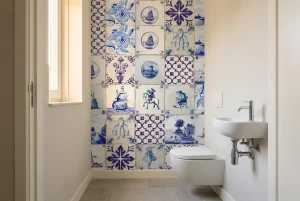
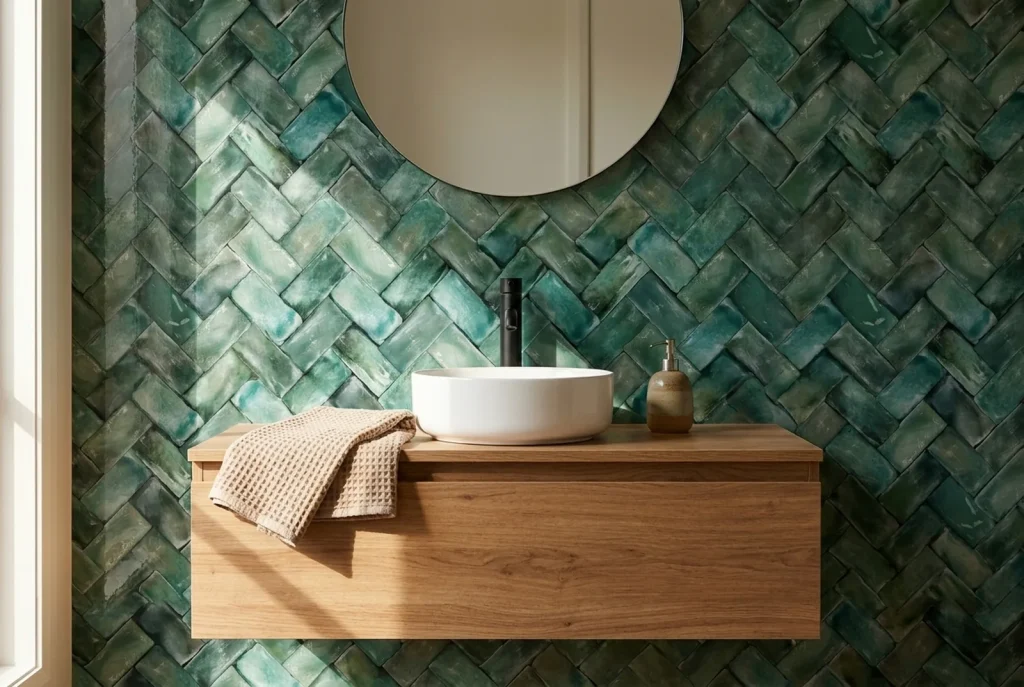
Anyone who likes tiles gives up nothing. A large part of our range is a print of tiles, complete with grout lines, shadow and the small colour differences real tiles have. From a metre away you cannot tell the difference.
The difference is in what is not there. The grout line on the panel is ink, not a groove. So there is no cavity for water to sit in, no porous mortar soaking up soap residue and no ledge for mould to get a grip on. You get the appearance of a tiled bathroom and the maintenance of a smooth sheet.
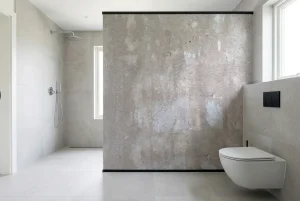
The same goes for natural stone, concrete and wood. Everything you would normally have to maintain in grout, silicone edges or porous material is, with us, an image on a closed surface.
Behind the basin and the vanity unit
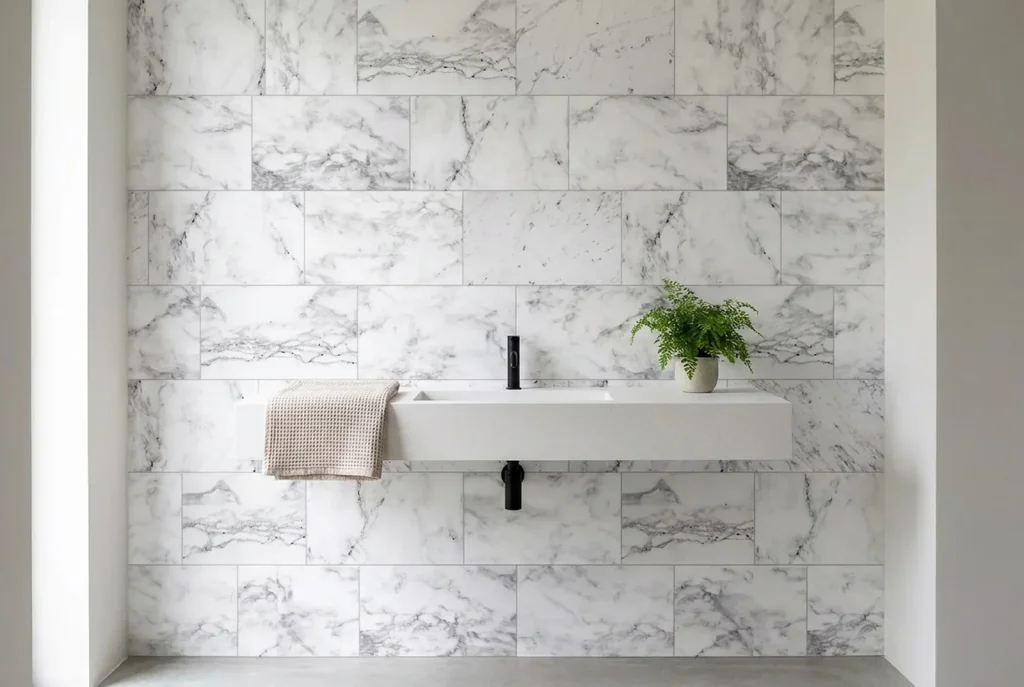
This is where most people start, and not without reason. The wall behind a vanity unit deals with water, toothpaste and soap residue every day, and that is often exactly where a strip of tiles with a lot of grout sits at eye level.
A panel behind the basin is usually a modest size, often no wider than the unit itself and around 60 to 80 cm high. That makes it a manageable first step: you replace the messiest strip of your bathroom without touching the rest. If you want to extend it, you can run the same panel through to behind the mirror or up to the ceiling.
Measuring the wall yourself? Then have a look at our explanation of measuring a wall. The same rules apply in the bathroom.
Over your existing tiles, without demolition
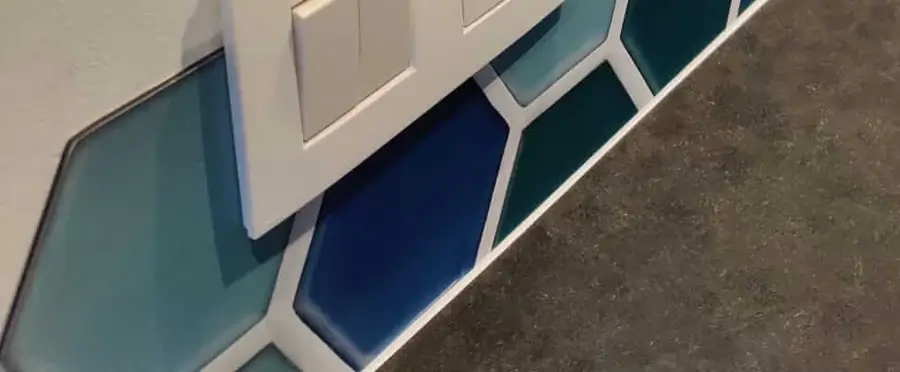
You do not have to strip your bathroom back. Our panels can be fitted straight over existing tiles. In the kitchen that is already one of the most frequently asked questions, and in the bathroom it weighs even heavier: removing tiles there almost always means damage to the substrate, dust throughout the house, and a bathroom out of use for days.
Fixing is done with assembly adhesive (Pattex Powerfix Polymer white or a comparable product) or with screws. No plastering is needed and the substrate does not have to be perfectly flat. On an uneven tiled wall the adhesive fills the grout lines.
Two things to watch. The panel comes forward by a few millimetres, so a socket or a tap outlet has to be allowed for in the measurements. And on a tiled wall with very deep grout lines, an extra bead of adhesive along those lines is sensible, so the panel is supported across its full width.
Which material to choose where in the bathroom
All three of our materials are water resistant. The difference is in thickness, size and appearance.
| Material | Thickness | Maximum size | Strong in the bathroom because |
|---|---|---|---|
| DW Original aluminium composite | 3 mm | 300 x 146 cm | The best choice for the bathroom. Completely waterproof, made to any size and usable anywhere, including the wet zone. |
| DW Glass toughened glass | 6 mm | made to measure | A luxurious, glossy look and scratch resistant. The image sits protected behind the glass. |
| DW Solid solid aluminium | 1.5 mm | 300 x 146 cm | The thinnest panel and extra robust. Particularly interesting if you want a very large format in one piece. |
All three are completely waterproof, including in the wet zone. So for a shower wall or a wall that takes water directly every day you can simply use DW Original. If you go for glass, you do it for the gloss, not because it copes better with water. Unsure about your situation? Order a sample and judge the material at home.
Your own photo in the bathroom
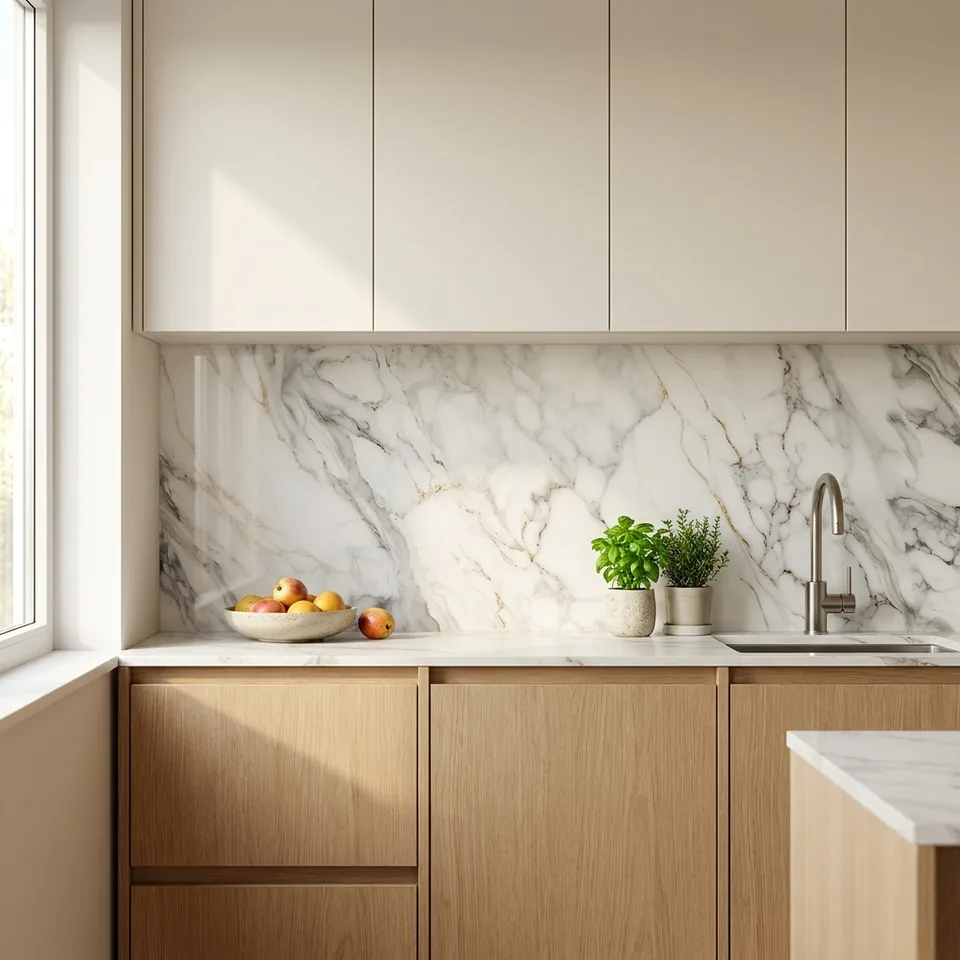
A bathroom is often a small room without a view, and that makes it interesting for a large image. A forest edge, a beach or a marble structure across the full width changes the whole room, and over the full panel length of 300 cm that image runs on without interruption.
How that works and what to watch for in the resolution of your file is on our page about a backsplash with your own photo.
In the toilet too
The toilet is perhaps the easiest room to start with: a small area, few obstacles and a lot of effect straight away. We wrote a separate piece about it, with the sizes and the approach: a wall panel in the toilet.
Frequently asked questions
Can a panel cope with the humidity of a bathroom?
Yes. All three materials are completely waterproof, DW Original included. Unlike tiles there is no grout for moisture to seep into and no mortar that absorbs it.
Can the panel go behind the bath or in the shower?
Yes. All three materials can be used in the wet zone. What counts is the finish: a carefully sealed join onto the bath or shower tray. Get in touch with your situation and we will take a look with you.
Do I have to remove my tiles first?
No. The panel goes over your existing tiles. No demolition, no dust, and your bathroom is usable again the same day.
How do I clean it?
A damp cloth is enough, with an ordinary cleaning product or glass cleaner if needed. Do not use abrasives or scouring pads.
Getting started on your bathroom wall
Choose a design from our collection or upload your own photo, send us your dimensions, and we make the panel to measure. Browse all designs or order a sample first to judge the material in your own bathroom.