Of all the rooms in a house, the toilet is the easiest one to tackle and at the same time the room where the effect is greatest. You stand close to the wall, you only see a couple of square metres at a time, and there is exactly one wall that sets the whole impression: the one facing you.
A wall panel in the toilet is therefore one of the most rewarding jobs there is. A small area, so a low threshold and a manageable price. And because you can fit it straight over your existing tiles, you are finished in an afternoon.
Why the toilet in particular
Three things make this room different from the rest of your house.
It is a small surface. The wall behind or beside the toilet is usually no wider than 100 to 140 cm. That means one panel, no joins, and an amount you will not need to think about for long.
There is little in the way. Unlike the kitchen or the bathroom, there are rarely sockets, taps or pipes in the wall you are working on. Usually it is simply a rectangle. That makes measuring and fitting a good deal simpler.
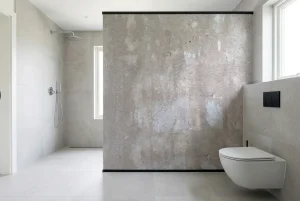
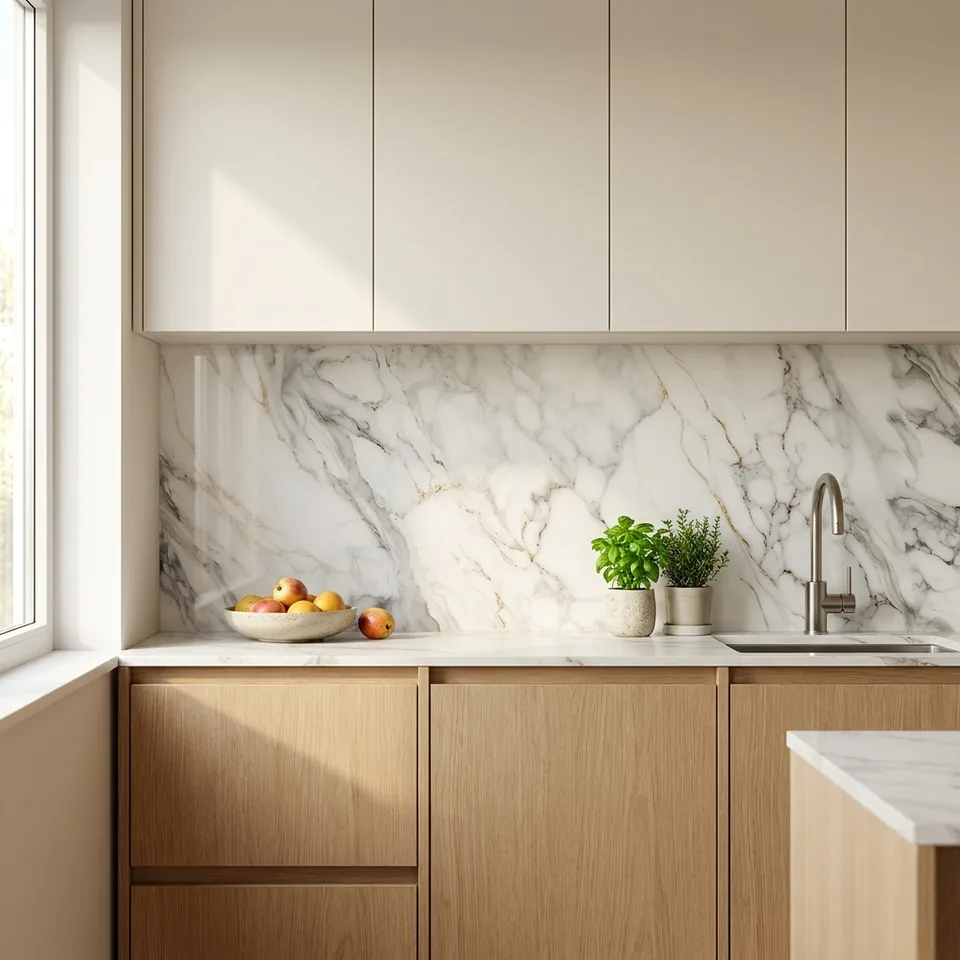
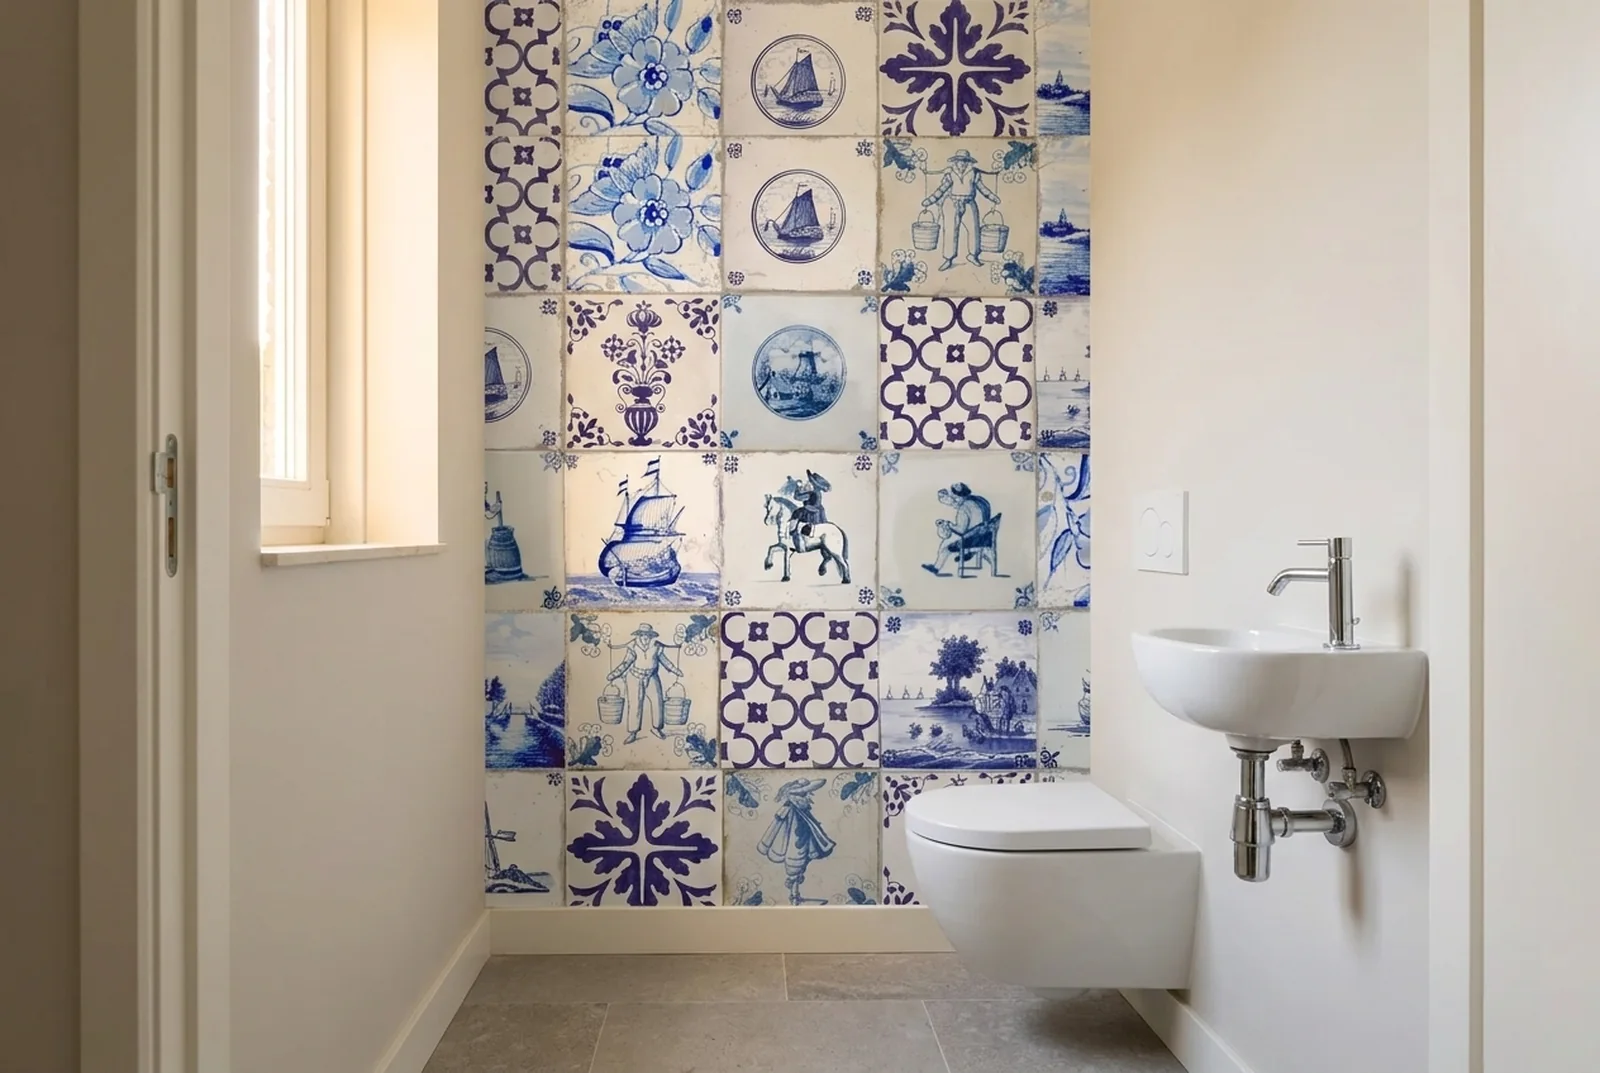
This is where you can be bold. This is the place for a design you might find too much in the living room. An outspoken botanical pattern, a dark marble structure, old Dutch tiles, a graphic print. In a small room where you only spend a moment, a strong choice works better than a cautious one.
Straight over your existing tiles
Most toilets are half or fully tiled, often in a colour the previous occupant was pleased with. You do not have to remove those tiles. The panel simply goes over them, fixed with assembly adhesive (Pattex Powerfix Polymer white or similar) or with screws.
No demolition means even more in a toilet than elsewhere: no dust in the smallest room in the house, no damaged substrate, and your toilet stays usable while you work.
Two practical points. The panel comes forward by a few millimetres, so allow for the edge along a concealed cistern or a door frame. And if there is a roll holder or a brush on the wall, unscrew it first and put it back through the panel afterwards.
No grout, and that counts for most here
The toilet is the room where grout gets dirty fastest and is hardest to clean. You can barely reach behind the pan with a cloth, and that is exactly where the build up sits.
A panel is one smooth surface. A damp cloth over it and you are done. No grout brush, no mould spray, no corners you cannot reach.
Which panel
For a toilet, DW Original is the logical choice: completely waterproof, made to any size and the best all rounder of the three. If you want more gloss or a more luxurious look, toughened glass is a fine step up.
| Panel | Thickness | Why it works in the toilet |
|---|---|---|
| DW Original aluminium composite | 3 mm | The best choice. Completely waterproof and made to any size, up to 300 x 146 cm per panel. |
| DW Glass toughened glass | 6 mm | More depth and gloss. Lovely if the toilet is the room your guests see. |
| DW Solid solid aluminium | 1.5 mm | The thinnest panel, handy when every millimetre counts against a tight door opening. |
Which wall to tackle
- The wall facing the door. That is what you see when you walk in, and therefore the wall with the most effect.
- The wall behind the toilet. Often the narrowest, and the place where a panel genuinely makes cleaning easier.
- The wall above the corner basin. Same principle as a kitchen backsplash: this is where the water lands.
- Half height or up to the ceiling. A panel to around 120 cm meets an existing tile edge neatly. Up to the ceiling makes the room look taller.
Getting started
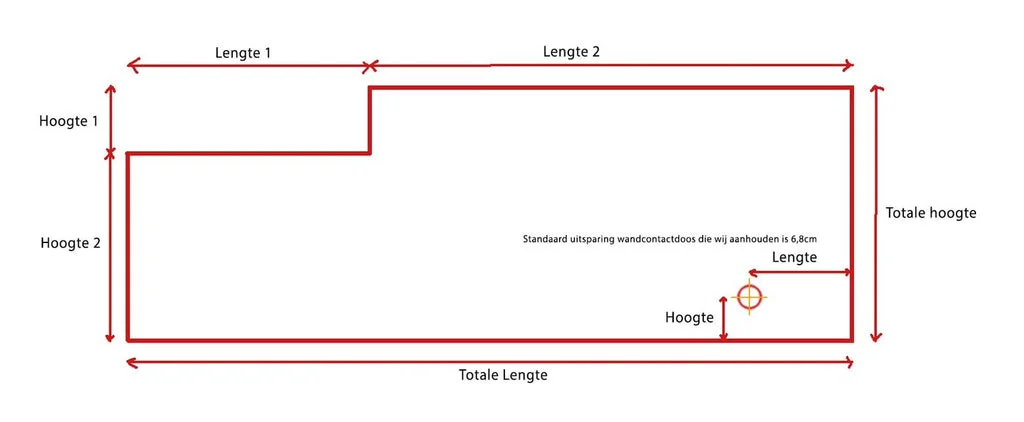
Measure the wall, choose a design and send us your dimensions. Our explanation of measuring a wall applies here just as well. Browse all designs, or order a sample first if you want to see the material for real.
Are you doing the whole room at once? Then have a look at a bathroom wall panel as well. The same product, the same installation, only a larger size.